Grow Tomatoes in Pots: 9 Tips That Finally Worked for Me
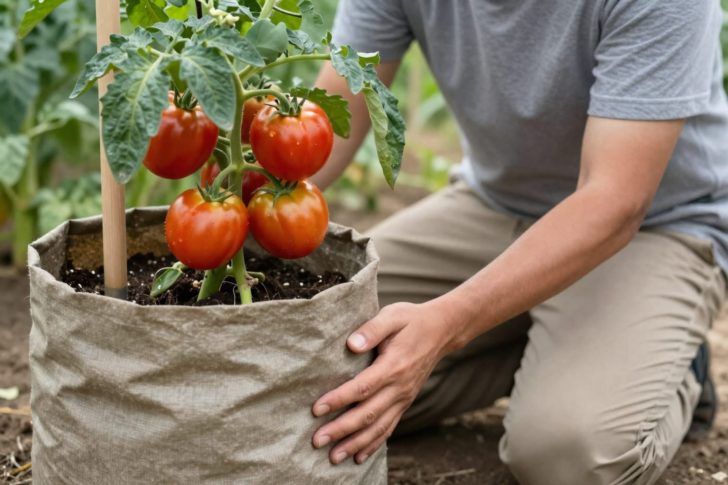
I killed eleven tomato plants before I got a single ripe fruit from a pot. Eleven. That’s two full seasons of watching leaves yellow, stems flop, and the occasional green tomato split and rot before it ever blushed. My neighbor, who grows tomatoes in the same cramped balcony, handed me a basket of ‘Sungolds’ every August while I stood there with a handful of failed stems. The difference wasn’t luck—it was a set of specific, repeatable choices I had to learn the hard way. After three more seasons of trial and error (and a lot of saved seed packets), I finally cracked the code. Here are the nine tips that turned my potted tomato plants from a sad science experiment into a reliable harvest I actually look forward to.
Why My Potted Tomatoes Failed for Years (And What Changed)
I did everything wrong at first. I bought a single ‘Beefsteak’ seedling, jammed it into a decorative ceramic pot with no drainage holes, and watered it every evening like clockwork. Within two weeks, the leaves curled, then yellowed, then dropped. I blamed the weather. The next year I tried a bigger pot—still ceramic, still no drainage—and added a layer of gravel at the bottom (a myth that makes things worse, as I later learned). Same result. The turning point came when a master gardener at the local extension office asked me three questions: What variety? What size pot? What soil? I couldn’t answer any of them with confidence. That conversation sent me down a rabbit hole of container-specific research. I switched to fabric grow bags, chose determinate varieties, and stopped watering on autopilot. The first harvest was small—maybe four pounds from two plants—but it was mine. Every tip below came from that journey, and each one fixed a mistake I had made personally.
Tip #1: Pick the Right Tomato Variety for Pots (It’s Not Just ‘Any’ Kind)
I used to grab whatever six-pack of seedlings the nursery had on the front rack. That’s how I ended up with a vigorous indeterminate ‘Brandywine’ in a five-gallon pot—a vine that wants to run ten feet tall. It produced exactly two small fruits before it outgrew the pot and started sulking. The first rule of container tomato success is matching the plant’s growth habit to the space. Determinate (bush) varieties stop growing at a fixed height, usually two to three feet, and set all their fruit within a few weeks. Indeterminate varieties keep vining and fruiting until frost, but they need deep soil and serious support. For containers under ten gallons, stick with determinate or dwarf types. My personal favorites now include ‘Patio Princess’ (compact, heavy yield), ‘Bushsteak’ (meaty fruits on a short plant), and ‘Tiny Tim’ (a true dwarf that thrives in a one-gallon pot). If you must grow indeterminate, use a twenty-gallon container and a tall stake—I’ve done it with ‘Sungold’ and it works, but it’s a commitment. The takeaway: read the seed packet or tag for “determinate” or “dwarf” before you buy.
Tip #2: Choose the Perfect Container Size and Material
Size is non-negotiable. A five-gallon pot is the absolute minimum for a single determinate tomato plant. Ten gallons is better, and fifteen gallons is ideal for indeterminate varieties. I learned this the year I transplanted a ‘Roma’ from a five-gallon bucket into a ten-gallon fabric pot—the root ball had circled the smaller pot so tightly I had to cut the plastic away. After the move, the plant doubled in size and produced three times the fruit. Material matters almost as much. Fabric grow bags (the black felt-like ones) are my top choice because they air-prune roots, prevent circling, and dry out faster (which reduces root rot risk). Plastic pots retain moisture longer—useful in hot climates but risky if you tend to overwater. Ceramic or glazed clay pots look nice but hold heat and moisture unpredictably; I cracked two before giving up on them. Whatever material you choose, ensure the pot has at least one large drainage hole per five gallons of capacity. I also elevate pots on bricks or pot feet to keep the drainage holes clear and improve airflow underneath.
Tip #3: Use the Right Soil Mix (Don’t Use Garden Dirt)
The biggest mistake I made was scooping soil from my raised beds into a pot. Garden soil is too dense for containers—it compacts, holds water like a sponge, and suffocates roots. A proper potting mix is lighter, drains faster, and contains ingredients like peat moss, perlite, and vermiculite that keep air pockets open. I mix my own now: two parts high-quality potting mix (I use a peat-free blend), one part perlite, and one part well-aged compost. The perlite is critical—it creates channels for water to drain and air to reach the roots. I skip the “moisture-control” potting mixes because they often contain polymers that can keep soil too wet in rainy spells. A simple test: fill a pot with your mix, water it thoroughly, and watch how fast it drains. If water sits on the surface for more than ten seconds, add more perlite. I also avoid adding a gravel layer at the bottom—it actually raises the water table inside the pot and can cause root rot. Just good potting mix straight into the container.
Tip #4: Water Deeply, But Not Too Often
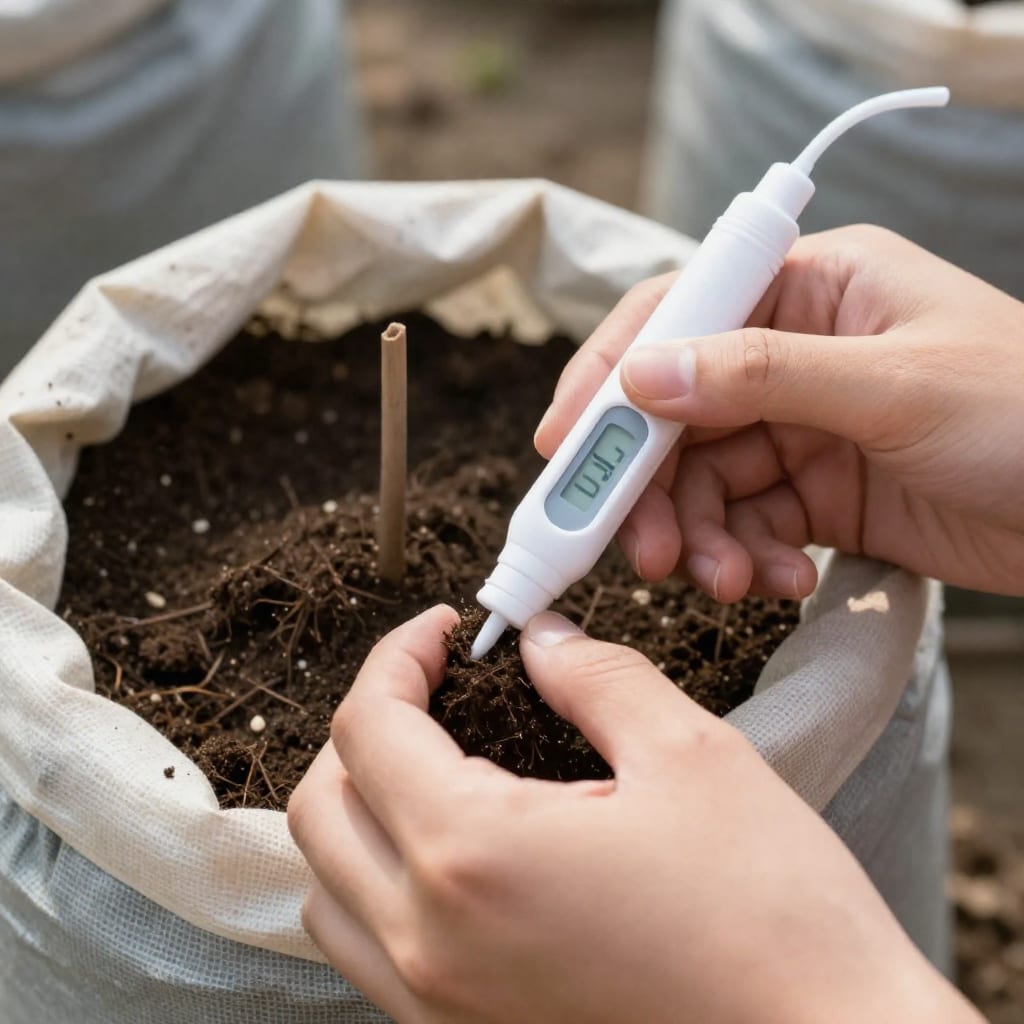
I used to water every evening, a light sprinkle that barely wet the surface. That taught the roots to stay shallow, making the plant vulnerable to any dry spell. The fix was counterintuitive: water less often, but give more water each time. I wait until the top inch of soil feels dry to the touch, then water slowly until it runs out the drainage holes. In summer heat, that means watering every two to three days for a ten-gallon pot—not daily. The deep watering encourages roots to grow downward, searching for moisture, which makes the plant more resilient. I also use a moisture meter (a ten-dollar tool) to check the middle of the root ball; if it reads “moist,” I wait. One trick that saved me during a heatwave: I placed each pot inside a shallow saucer and filled the saucer with water on the hottest afternoons. The plant could wick up water from below without drowning the roots. Avoid letting pots sit in standing water for more than an hour, though—that’s an invitation to root rot.
Tip #5: Support Your Plants (Even Bush Varieties Need Help)
I assumed determinate tomatoes, being short and bushy, didn’t need support. Then a heavy rain flattened my entire ‘Patio Princess,’ and the fruits that touched the soil developed rot within days. Now I stake every potted tomato, regardless of type. For determinate varieties, a simple cage (the cone-shaped wire kind, twelve to eighteen inches tall) works perfectly. I insert the cage at planting time to avoid damaging roots later. For indeterminate tomatoes in large pots, I use a six-foot bamboo stake driven deep into the pot and tie the main stem loosely with soft plant ties every six inches. The key is installing the support early—if you wait until the plant is two feet tall, you’ll disturb the root system when you push a stake through. I learned that the hard way when my ‘Sungold’ wilted for three days after I added a stake mid-season. Fabric grow bags make staking trickier because they’re flexible; I use a three-legged tomato ring that sits on top of the soil and doesn’t require deep insertion.
Tip #6: Fertilize Regularly (But Gently)
Container tomatoes are heavy feeders because every watering flushes nutrients out the drainage holes. But I overcorrected at first, dumping a high-nitrogen fertilizer on my plants every week. The result was giant, lush, dark-green plants with almost no flowers or fruit. Tomatoes need phosphorus and potassium more than nitrogen once they start flowering. I now use a balanced fertilizer with an N-P-K ratio around 5-10-10, applied at half-strength every two weeks after the first flowers appear. I also mix a slow-release granular fertilizer (like a 14-14-14) into the potting mix at planting time as a baseline. One detail that made a real difference: I switched to a liquid kelp and fish emulsion blend (diluted per label) for weekly foliar feeds during fruiting. The plants responded with deeper color and more fruit set. If you see yellowing lower leaves, that’s often a nitrogen deficiency—but check the soil moisture first because overwatering causes the same symptom. I keep a small notebook to track when I fertilize each pot; it’s easy to lose track of the schedule during a busy week.
Tip #7: Give Them Full Sun, But Watch for Heat Stress
Tomatoes need six to eight hours of direct sunlight daily. My balcony gets full sun from late morning until sunset, and I thought that was perfect. Then a July heatwave pushed temperatures above 95°F for four consecutive days. The leaves curled inward, flowers dropped, and the developing fruits got sunscald—white, papery patches on the side facing the sun. I now use a 30% shade cloth draped over a simple PVC frame on the hottest afternoons (from 1 to 4 PM). It lowers leaf temperature by about 10°F without sacrificing too much light. Dark-colored pots, especially black plastic ones, can heat the root zone to dangerous levels. I wrap my black fabric grow bags with a layer of burlap or set them inside a larger, light-colored pot to reflect heat. If you live in a hot climate, consider white or light-colored containers. I’ve also moved pots to a spot that gets morning sun and afternoon shade during the peak of summer—the plants still ripen fruit, just a week or two later than full-sun plants.
Tip #8: Prune and Maintain for Better Airflow
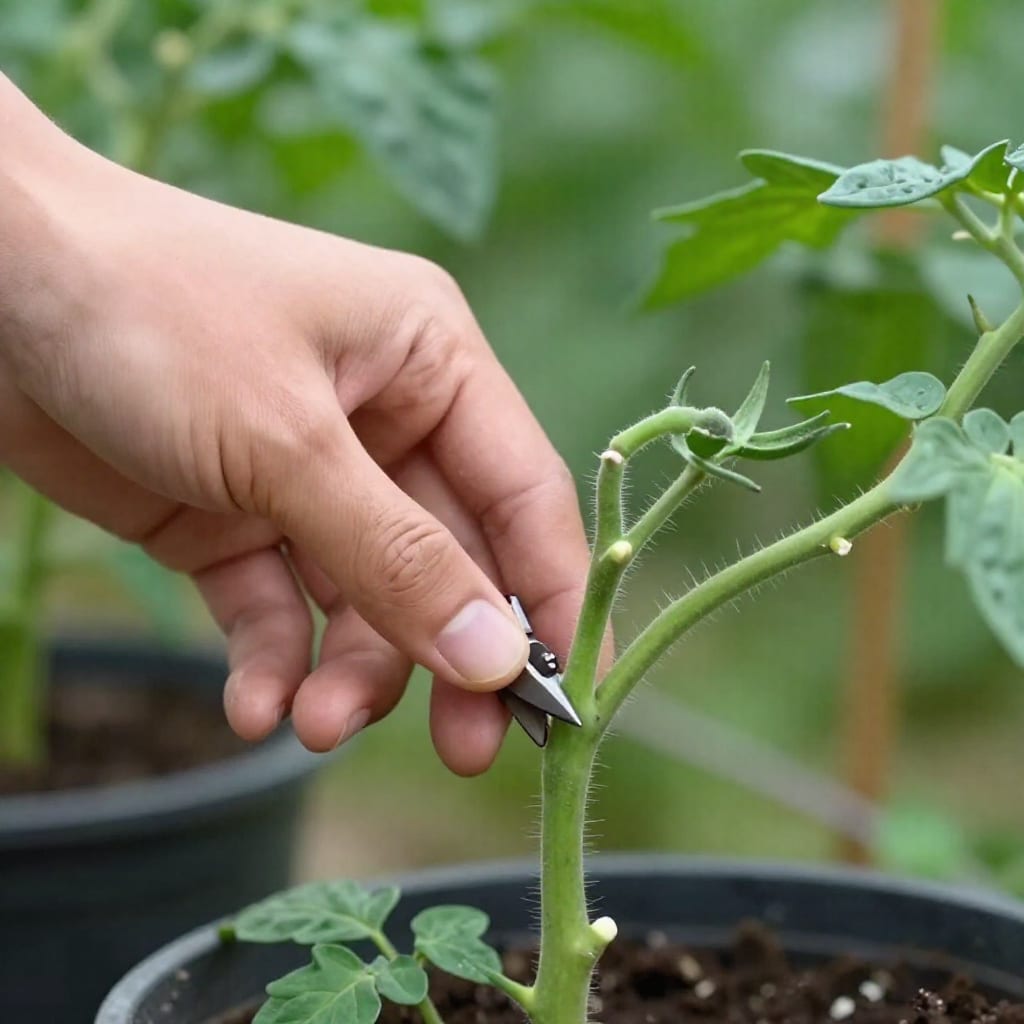
In a container, space is tight, and dense foliage traps humidity, inviting fungal diseases. I learned to prune aggressively but selectively. For determinate varieties, I remove the lowest leaves (those touching the soil or within six inches of it) as soon as the plant reaches about a foot tall. This prevents soil splash that carries blight spores. For indeterminate tomatoes, I also pinch out the suckers—the small shoots that form between the main stem and a branch—once a week. Leaving too many suckers creates a jungle that blocks airflow and light. My rule of thumb: keep two or three main stems max for an indeterminate in a container. I also remove any yellowed or spotted leaves immediately, dropping them into a bag (not the compost bin, because disease spores can survive). The result is a plant that dries out faster after rain or watering, which dramatically reduces the chance of early blight or septoria leaf spot. I carry a small pair of pruning snips with me when I check the plants; it takes thirty seconds a day.
Tip #9: Watch for Pests and Diseases Early
Container tomatoes aren’t immune to pests—aphids, whiteflies, and hornworms find them just as easily as in-ground plants. The difference is that a small infestation in a pot can kill the plant quickly because the root system is confined. I inspect my plants every morning while I have coffee on the balcony. I look under leaves for aphid clusters, check the stem bases for any dark spots, and scan for hornworm droppings (small black pellets) on the soil surface. When I spot aphids, I blast them off with a sharp spray from the hose nozzle before they can multiply. For persistent infestations, I use insecticidal soap (a commercial brand, applied in the evening to avoid leaf burn). Blossom end rot—the black, leathery patch on the bottom of fruits—isn’t a pest but a calcium deficiency caused by irregular watering. Once I fixed my deep-watering schedule, blossom end rot virtually disappeared on my plants. If you see it, pick off the affected fruits, maintain even moisture, and consider adding a calcium supplement (like liquid calcium) to your watering routine. One more tip: space pots at least eighteen inches apart to improve airflow and reduce the spread of fungal spores.
Final Thoughts: What I Wish Someone Had Told Me
The single most important lesson I learned is that growing tomatoes in containers isn’t harder than growing them in the ground—it’s just different. The rules about variety, pot size, soil, and watering are non-negotiable, but once you dial them in, the plants reward you with fruit that tastes just as good as any garden tomato. I still make mistakes—last year I forgot to fertilize for three weeks and got a batch of tiny, pale fruits—but I now have a mental checklist I run through every time I water. That checklist is worth bookmarking before next season: variety match, pot size and material, proper soil mix, deep watering, early support, gentle fertilizer, sun management, regular pruning, and daily pest checks. Every one of those tips came from a failure I don’t have to repeat, and neither do you.